A gel manicure is a long-lasting manicure, which will not chip or peel. The nail polish used in this type of manicure is cured under ultraviolet light. It can last for a very long time without chipping or peeling, and the nails are much stronger than those that have been treated with traditional nail polish or acrylics. Gel polishes also don’t contain formaldehyde, making them safer for everyone to use. However, it takes some time and effort to get the perfect gel mani and avoid any flaws in the process. In this article, we’ll give you 10 tips on how to achieve flawless gel manis at home!
Tips for a Gel Manicure
Clean Your Nails First
Before you start the gel polish application process, it’s important to make sure your nails are clean. Any dirt or oil on your nails can cause the polish to not adhere correctly, resulting in a shorter-lasting manicure. You can use a nail brush and soap to scrub your nails clean, or you can use an alcohol-based cleanser.
File and Shape Your Nails
Once your nails are clean, you’ll want to file and shape them into the desired shape. It’s important to not file too aggressively, as this can weaken the nail and cause breakage.
Buff the Nail Surface
After you’ve filed and shaped your nails, you should buff the surface of the nail to create a smooth surface for the polish to adhere to.
Choose Color from High Quality Brand
Be sure to choose a gel polish from a high-quality brand such as DND gel polish colors in order to get the best results.
Apply a Base Coat
Once your nails are prepped, it’s time to apply a base coat. A base coat helps the gel polish adhere to the nail and prevents staining of the nail plate. Be sure to apply a thin layer and cure under UV light for 60 seconds.
Apply Color in Thin Coats
Now it’s time to apply the gel polish color! It’s important to apply thin coats so that the polish will cure correctly and evenly. Be sure to cure each coat under UV light for 60 seconds before applying the next one. This will help your manicure to stay on for a long time. Along with DND, you can also experiment with other popular brands like Nugenesis nails to find the color and result of your choice.
Apply a Top Coat
After you’ve applied the desired number of color coats, it’s time to apply a top coat. A top coat helps protect the color and gives the nails a high gloss finish. Be sure to cure under UV light for 60 seconds.
Clean up the Nails
Once you’re finished with the curing process, it’s time to clean up your nails. Use a nail brush and acetone to remove any excess polish from around the nails.
Moisturize Your Hands and Cuticles
After your nails are all cleaned up, it’s important to moisturize your hands and cuticles. This will help prevent your skin from drying out from the gel manicure process.
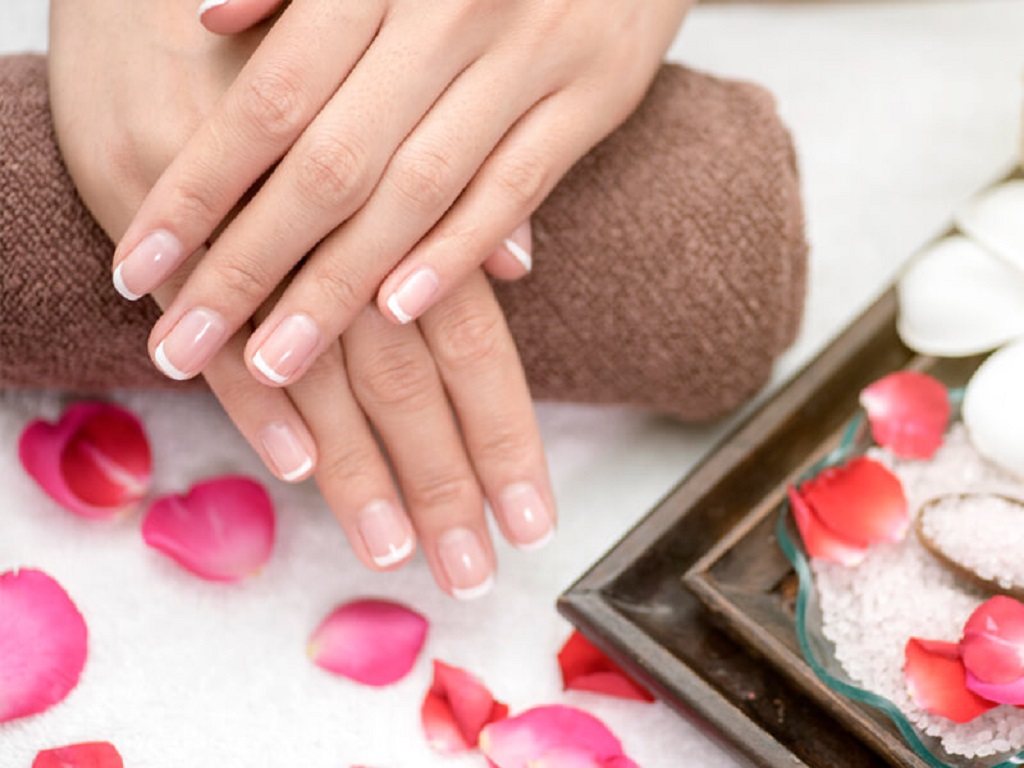
Admire Your Beautiful Nails!
Now that you’ve completed the gel manicure process, sit back and admire your beautiful nails! They should last up to 2 weeks with proper care.
Tips for Maintaining Your Gel Manicure
To maintain your gel manicure and make it last as long as possible, be sure to avoid getting them wet or applying any lotions or oils to your hands. Also, try to avoid using your nails as tools to pick at things. If you need to remove the polish early, be sure to go to a professional nail salon so they can properly remove it without damaging your nails.
Conclusion
In this article, we’ve explored the 10 steps you need to take in order to achieve a flawless gel manicure. From selecting your color of choice and applying it correctly to using a top coat for durability and protection, there are plenty of simple tips that will help you with achieving your goal without breaking any nails! We hope these tricks have been helpful for you – let us know if you want more advice on how to get perfect nail art or learn about specific products like base coats or top coats.